Creating content for your business doesn’t have to be a daily panic of “What do I post today?”
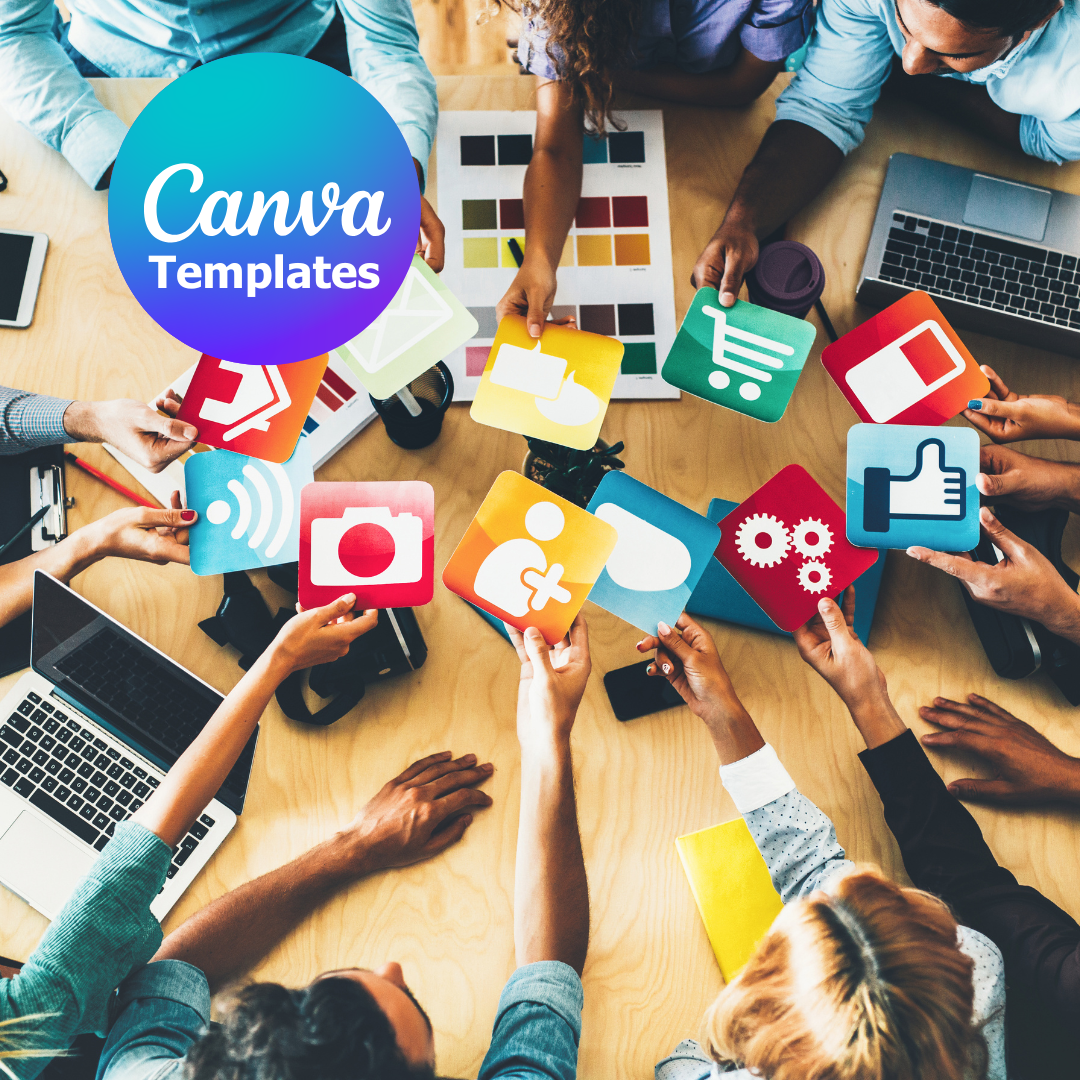
If you’re constantly opening Canva and starting from scratch, this blog is going to be your new best friend. Because once you set up your own Canva template system, you’ll save yourself hours every single week — and finally get that consistency you’ve been craving.
Let’s get stuck in.
Why Templates Mean More Time, Less Stress
Templates take the thinking out of designing.
- You’re not reinventing the wheel every time
- Your posts look on-brand and consistent
- You can batch-create your content quickly and calmly
When your visuals are sorted, showing up on socials becomes so much easier — even if you’re juggling client work, mum-life, and all the plates.
Step-by-Step: How to Set Up Your Canva Template System
Step 1: Choose Your Content Pillars
Before you dive into design, decide on 3–5 core topics you regularly talk about (a.k.a. content pillars). These might be:
- Behind the scenes / your day in the life
- Tips and how-to posts
- Testimonials or client wins
- Promotional posts (your offers/freebies)
- Relatable mum/biz content
These will help guide the type of templates you need.
Step 2: Design 1–2 Templates for Each Content Type
In Canva, create a brand folder or a dedicated template folder.
Then, design (or adapt) 1–2 posts for each pillar. For example:
- Tip post: Text box for a short tip with your branding
- Testimonial post: Quote layout with a space for your client’s words
- Promo post: Your offer, price, CTA button
- Behind-the-scenes: Photo placeholder + playful caption box
💡Top tip: Use one brand font, one accent font, and stick to 2–3 colours max to stay on-brand and clutter-free.
Step 3: Create a “Master Template File” in Canva
This is the game changer — trust me!
Create one file that holds all your templates in one place (name it something like “Social Templates – Do Not Touch 😂”).
Every time you batch content, make a copy of that file, then tweak and edit without touching your originals.
You’ll never have to start from scratch again!
Step 4: Batch Create Weekly or Monthly
Once your system is set up:
- Pick a batching day (even if it’s just an hour)
- Open your template copy
- Plug in your ideas, captions, and images
- Download everything and schedule (or post as you go)
Batching helps you stay consistent without burning out — and it stops content creation taking over your week.
Leave a Reply